Unlocking hidden insights get started with Microsoft Purview content search

RT Blog (Unlocking hidden Insights get started with Microsoft Purview content search)

In today’s digital age, businesses generate massive amounts of data daily, stored across emails, documents, chat logs, and more. But finding the specific data you need can feel like searching for a needle in a haystack. Here’s where Microsoft Purview Content Search steps in as your digital detective!

What is Content Search?

This versatile tool helps locate specific information across various applications like Exchange, SharePoint, OneDrive, and Teams. It’s ideal for internal needs such as investigations or audits.

This powerful tool empowers you to effortlessly locate critical information within your Microsoft 365 environment. Whether you’re conducting internal investigations, responding to legal requests, or simply managing day-to-day tasks, Content Search streamlines the process and saves you valuable time.

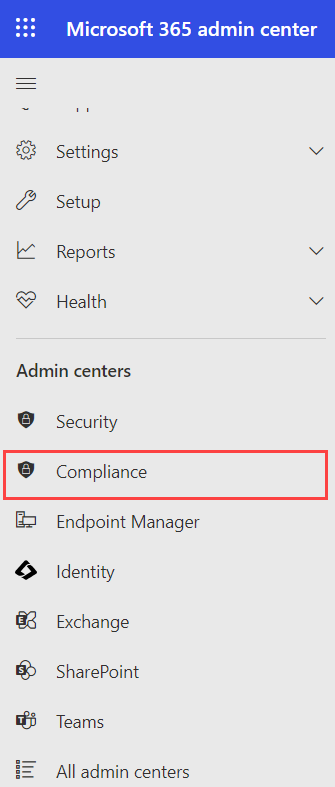
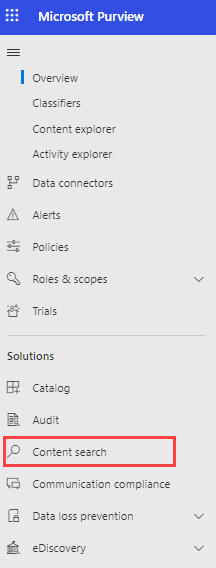
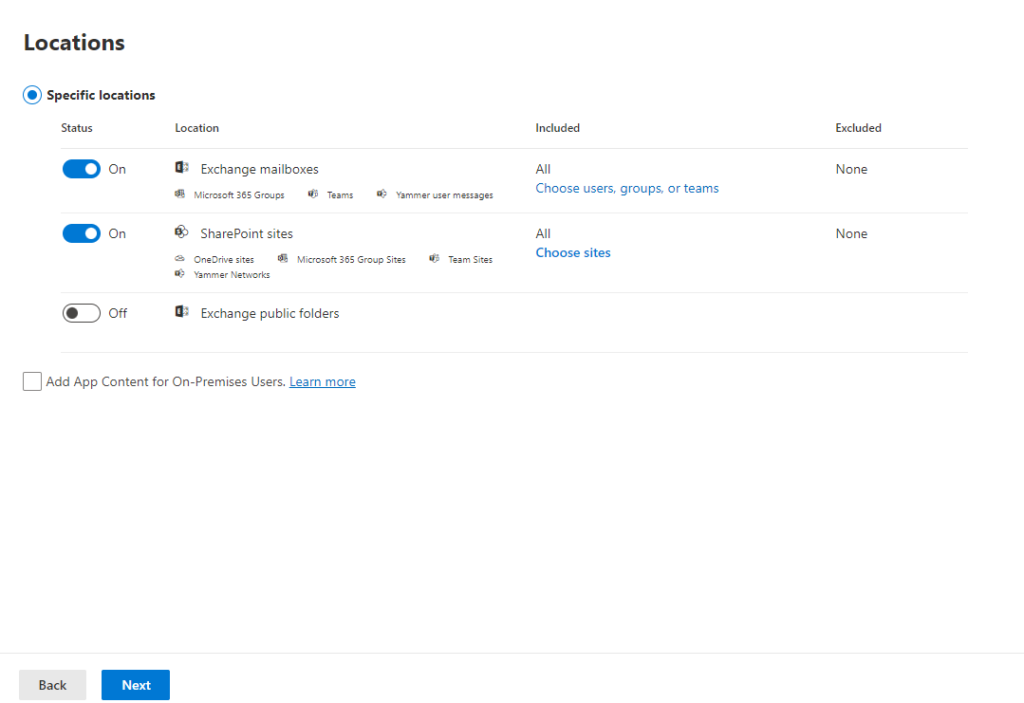
You can use the Content search eDiscovery tool in the Microsoft Purview compliance portal to search for in-place content such as email, documents, and instant messaging conversations in your organization. Use this tool to search for content in these cloud-based Microsoft 365 data sources:

  • Exchange Online mailboxes
  • SharePoint Online sites and OneDrive for Business accounts
  • Microsoft Teams
  • Microsoft 365 Groups
  • Viva Engage Groups

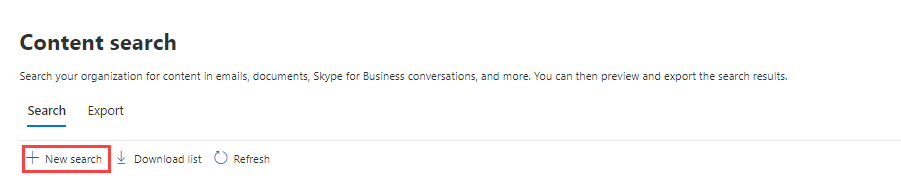
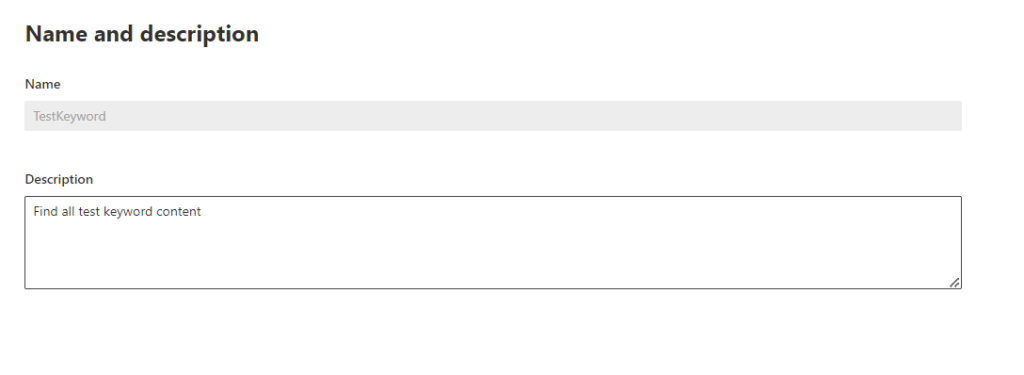
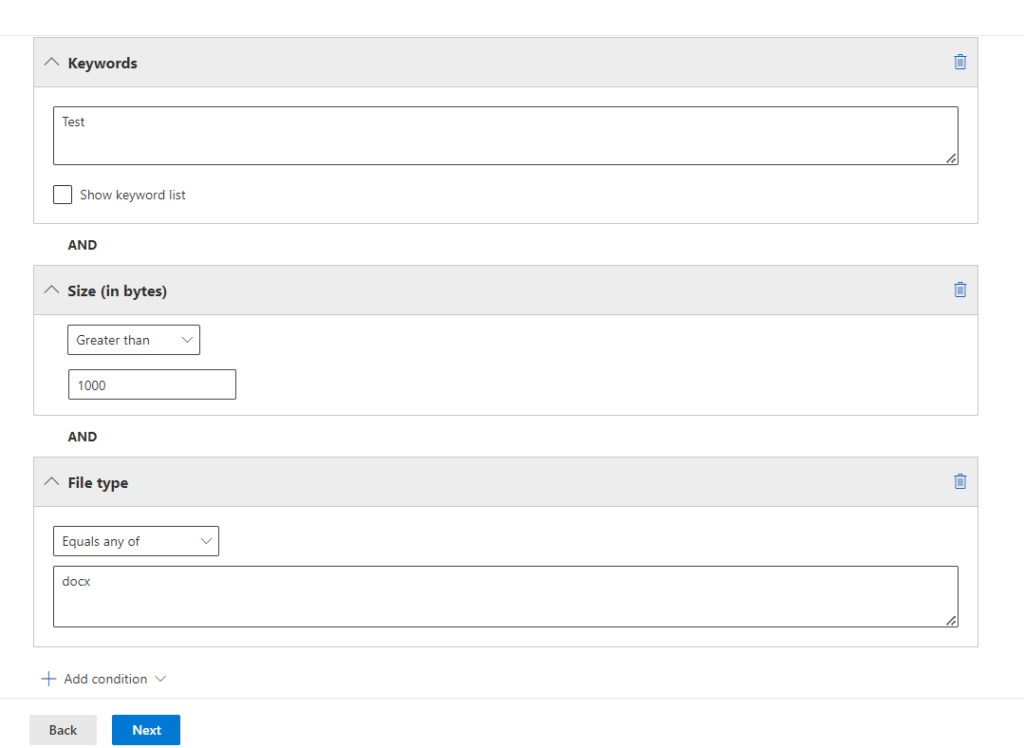
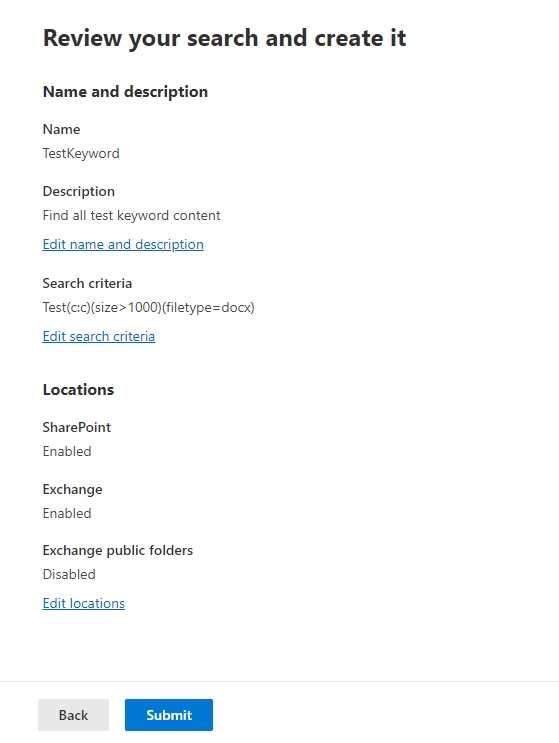
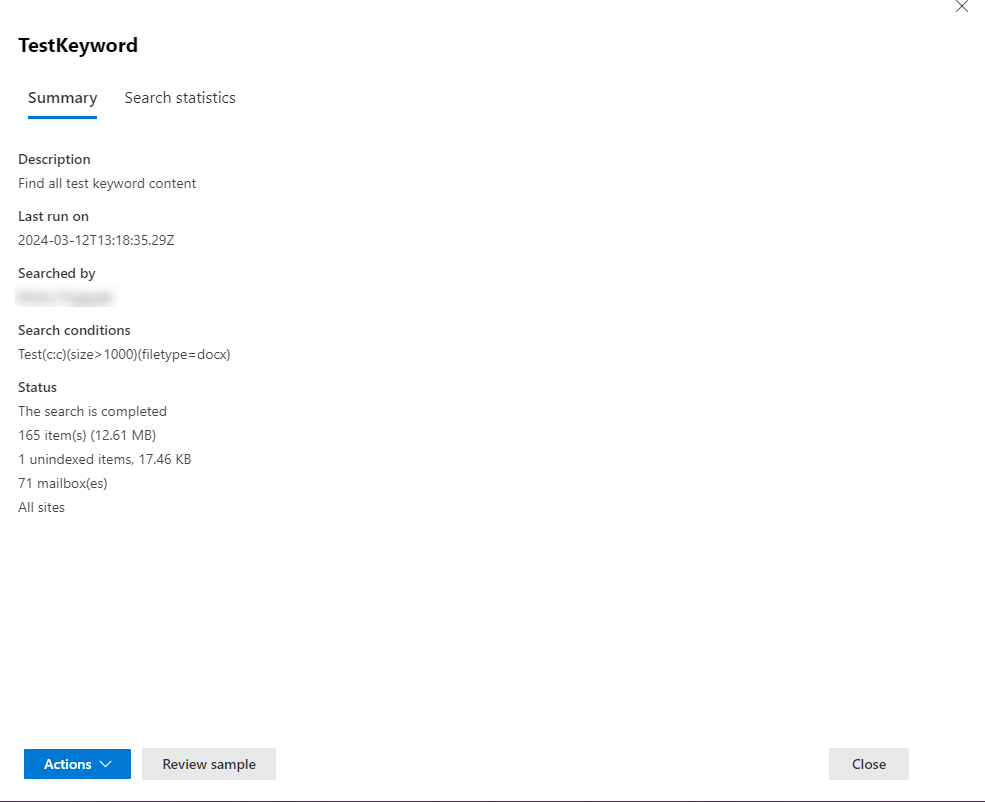
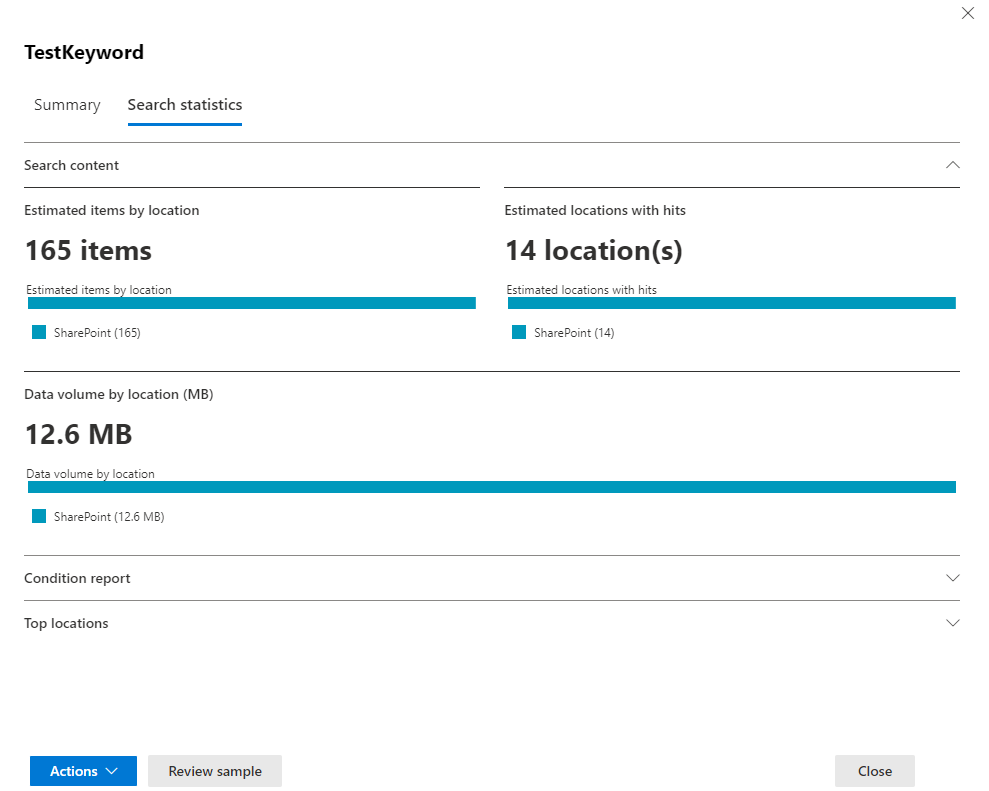
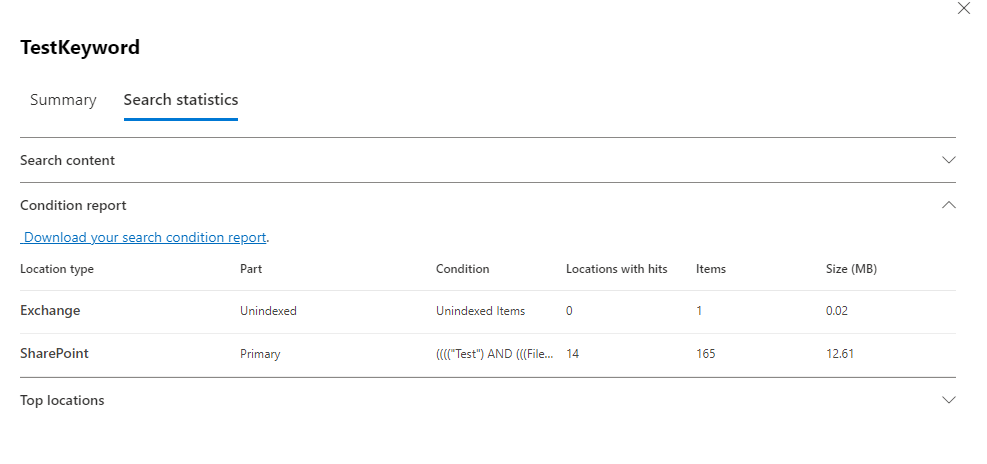
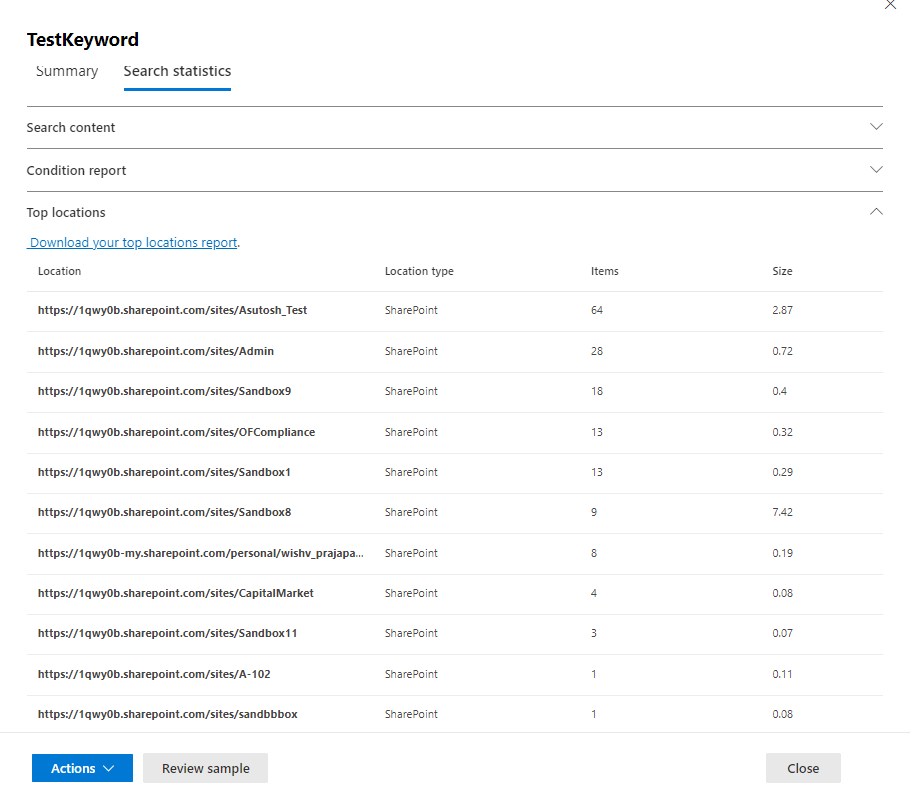
Running a search is as simple as typing in your keywords. Plus, you get an instant estimate of the number of results and which locations hold the most relevant information. No more wading through mountains of data!

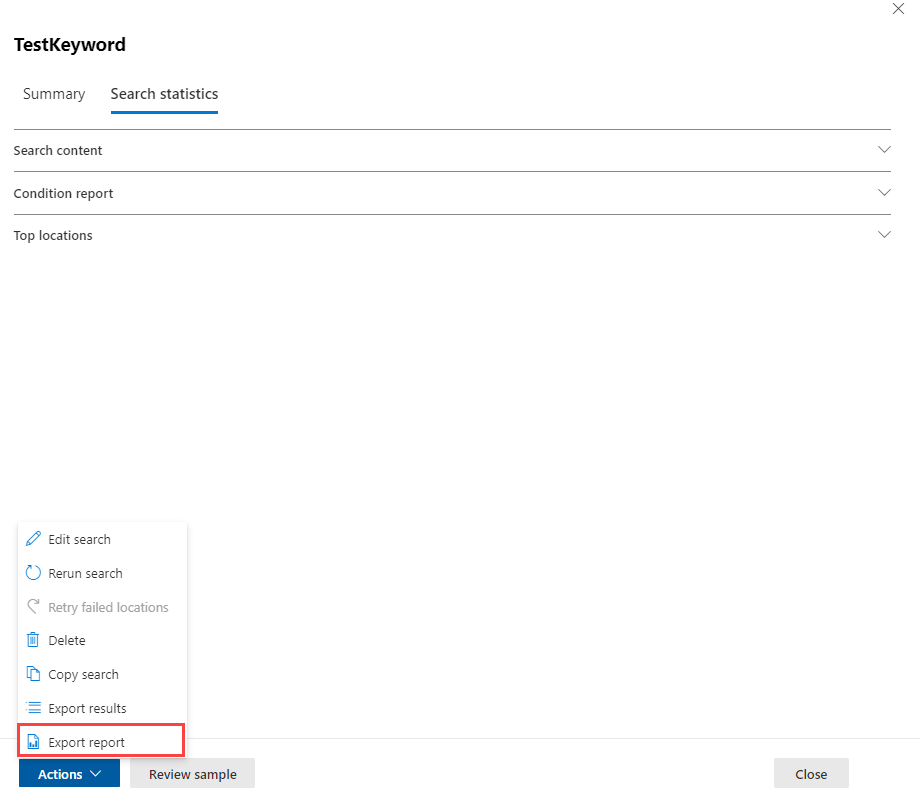
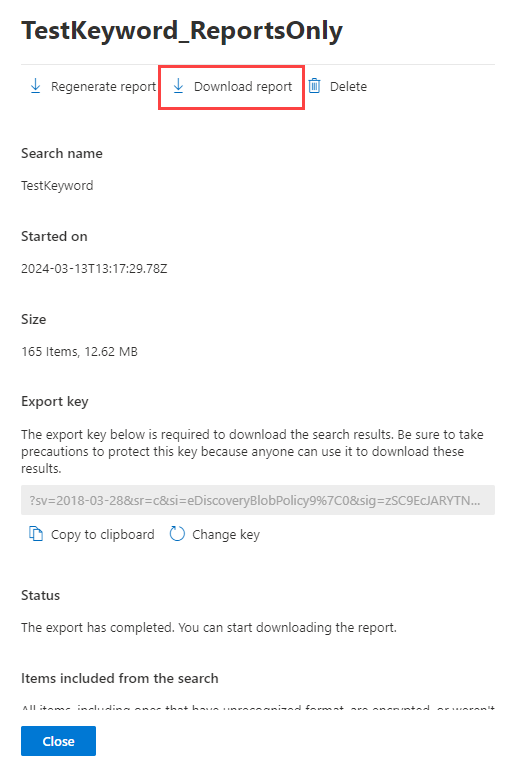
Content Search even lets you preview the results before exporting them for further analysis. This saves you valuable time and ensures you have the right information at your fingertips. Ultimately, Content Search empowers you to make better decisions, faster, and helps your organization stay compliant with regulations.

Here’s how to create and run a content search:

1. Access the Microsoft Purview Compliance Portal:
Go to the Microsoft 365 Admin Center and click on “Compliance”. In the left navigation pane, select “Content search”.

IMG1
IMG1

2. Initiate a New Search:
Click “New search” on the Content search page.

IMG3

3. Give Your Search a Unique Name and Description:
Choose a clear and descriptive name that reflects the purpose of your search. Add a description (optional) to further clarify the search intent.

IMG4

4. Select Search Locations:
Choose the locations you want to search by toggling them “On.”

  • Exchange Mailboxes: Search all mailboxes by default or select “Choose users, groups, or teams” for specific targets. Use the search bar to find individual mailboxes or distribution groups.
  • SharePoint Sites: Search all sites by default or select “Choose sites” to specify locations. Enter the URL of each SharePoint site, OneDrive site (including those for Teams, Groups, and Viva Engage) you want to search.
  • Exchange Public Folders: There’s no option to choose specific folders. Toggle “On” to search all Exchange public folders or leave it “Off” if not needed.
IMG5

5. Refine Your Search with Keywords and Conditions:
Keyword Query: Enter keywords or phrases relevant to your search.

Conditions: For more precise results, use conditions like:
Sent or received date ranges for emails. File name or last modified date for documents.
Boolean Operators (AND, OR NOT): Combine keywords for complex queries (explained in Microsoft Documentation: https://learn.microsoft.com/en-us/purview/ediscovery-keyword-queries-and-search-conditions).


IMG6

Enable the keyword list checkbox, then add a keyword per row. Keywords in a row are linked by a logical operator (c:s), similar to the OR operator, with a limit of 20 rows to avoid large list issues. Conditions added must align with the keyword query, using a logical operator (c:c) akin to the AND operator, ensuring only items meeting both criteria appear in the results.( You can have up to 20 keywords in the keyword list.)

6. Review and submit to start the search:
Double-check your search settings. Click “Submit” to start the search process.

IMG7
IMG8

7. Analyze Your Search Results:
After running the search, you’ll see estimated search results and statistics. Download these statistics to a CSV file for further analysis in Excel to view details like:

  • Content locations with matching items.
  • Number of results for each keyword (if using the keyword list).

Microsoft Purview provides valuable insights after you run a content search. Let’s break down the key sections:

1. Search content
This section offers a quick overview of what your search found. You’ll see the total number of items matching your criteria, along with a breakdown by location (mailboxes and sites) and estimated size

IMG9

Estimated Items by Location: Shows the total count and specifics of items found in mailboxes and on sites.
Estimated Locations with Hits: Details the total and specific numbers of mailbox and site locations containing matching items.
Data Volume by Location (in MB): Reports the total and specific data sizes for mailbox and site items.

2. Condition report
This section dives deeper into how your search terms performed. It shows statistics for each keyword or condition used in your search query. This helps you analyze which terms yielded the most results and potentially refine your search further. You can even download this report as a CSV file for further analysis in Excel.

IMG10

Location Type: Identifies content location—Exchange for mailboxes, SharePoint for sites.
Part: Specifies if stats apply to the entire query (“Primary”) or individual keywords.
Condition: Indicates the keyword or condition generating the stats.
Locations with Hits: Counts content locations with matching items.
Items: Total number of matching items found.
Size (MB): Combined size of matching items in megabytes.

3. Top locations
This section identifies the content locations (mailboxes or SharePoint sites) with the highest number of matching items.
It displays the top 1,000 locations, allowing you to pinpoint where the most relevant information resides.
Similar to the Condition Report, this section offers the option to download a CSV report for further analysis.

IMG11

4. Exporting Reports:
If you want to save your search results for future reference, you can export them. Simply click the “Actions” menu and select “Export report.”

IMG12

Choose the desired format and generate the report.

IMG13

Head over to the “Export” tab to locate the exported report.

IMG14

Click on the report to download it. When generating the report, you’ll see an “Export key”. This key is required to open the downloaded report. You can also change the export key while generating the report for added security.

IMG15

For exporting data beyond Purview:
While this guide focuses on exporting reports within Purview, if you’re interested in exporting data to your local system in a different context (e.g., PST files), you can refer to our separate blog titled “How to export Office 365 PST file with eDiscovery in Office 365” which provides more information on that specific process.

Share this entry

Leave a Reply

Your email address will not be published. Required fields are marked *

Table of Contents

Categories

Categories