How to export Office 365 PST file with eDiscovery in Office 365

RT Blog (How to Export Office 365 PST file)

In today’s digital landscape, legal and compliance teams are constantly battling the ever-growing tide of electronic data. Complex investigations and tight deadlines demand efficient tools to sift through this information. Microsoft Purview, with its robust eDiscovery and Content Search features, empowers teams to navigate these challenges. However, the true power lies in unlocking the insights within the exported data. This is where the eDiscovery Export Tool used for the streamlining the review process and to access the data in a more usable format.

You cannot actively use a PST file from OneDrive or SharePoint Online. Microsoft is NOT recommending this as a practice. The recommended practice is to convert your PST files to your Office 365 account. (.PST files: These are data files used by older versions of Outlook to store emails, contacts, calendars, etc.)

What is Content Search?

This versatile tool helps locate specific information across various applications like Exchange, SharePoint, OneDrive, and Teams. It’s ideal for internal needs such as investigations or audits.

What is eDiscovery?

Beyond basic search, eDiscovery is a robust solution specifically designed for legal and compliance teams. It allows for efficient identification, preservation, and analysis of electronic content during legal cases or investigations. This ensures adherence to legal requirements and facilitates thorough investigations.

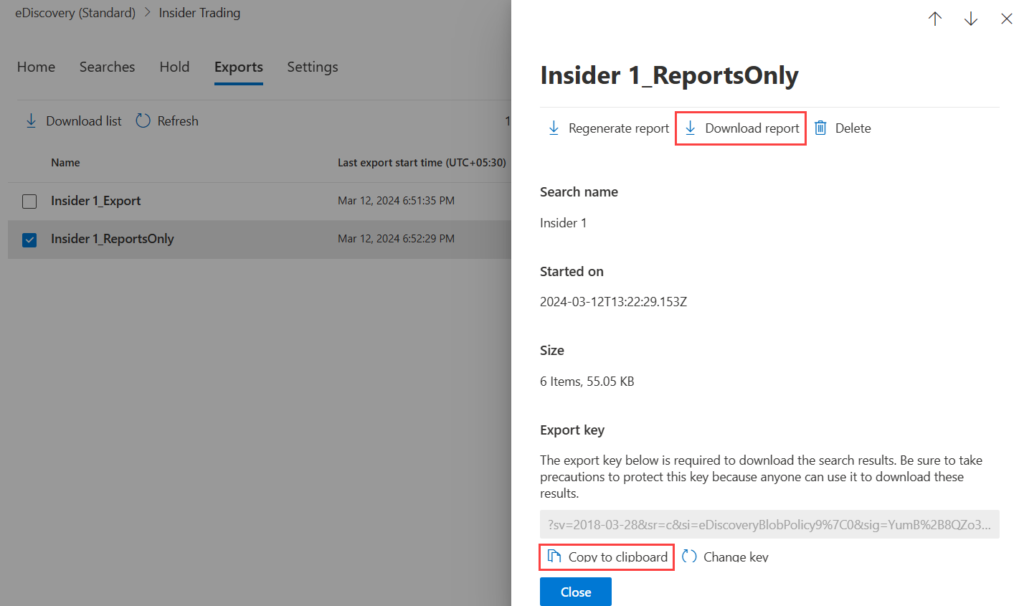
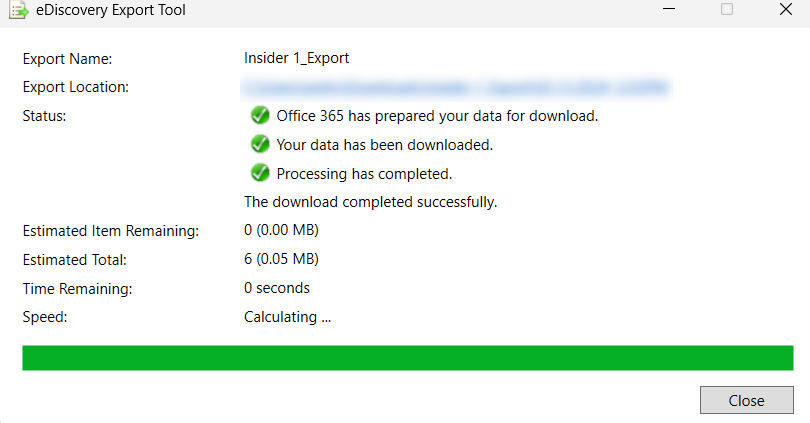
What is the eDiscovery Export Tool?

The eDiscovery Export Tool is a powerful utility integrated within Microsoft Purview, designed specifically for viewing and analysing exported Content Search data. It provides users with a user-friendly interface to navigate through the exported data, and to access the data in a more usable format.

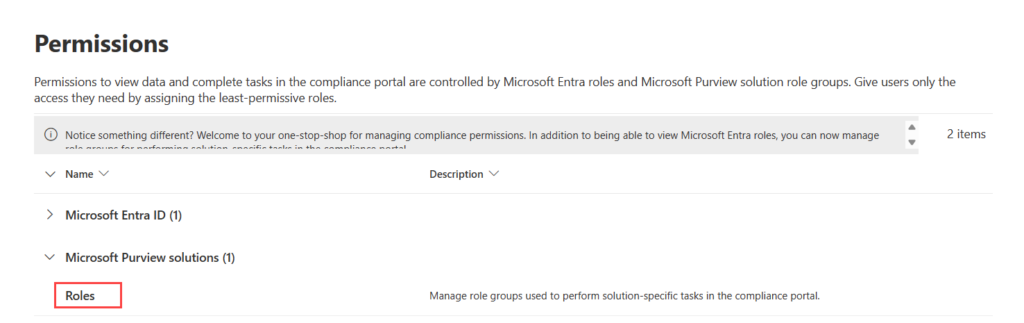
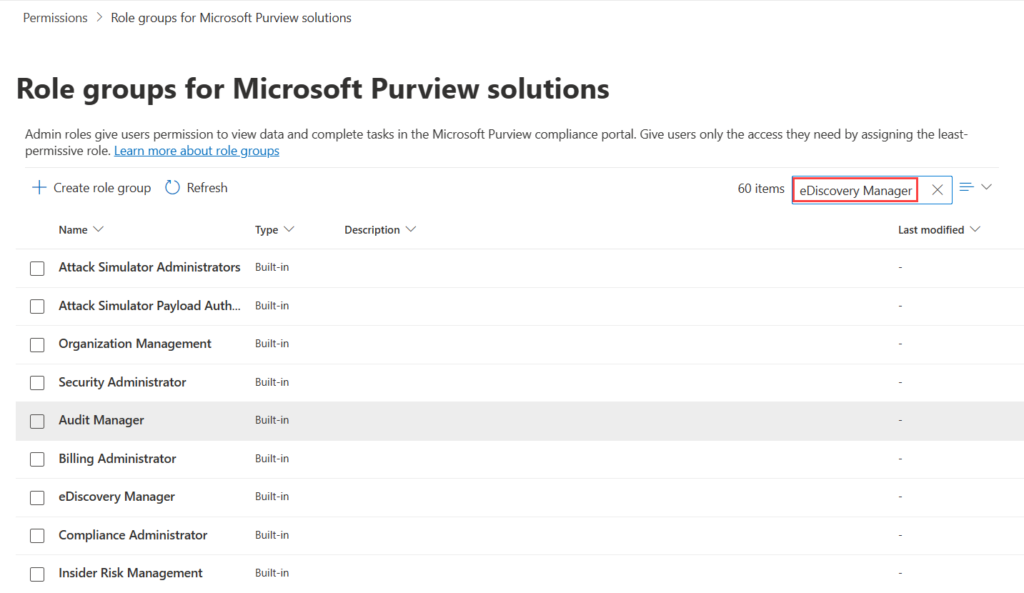
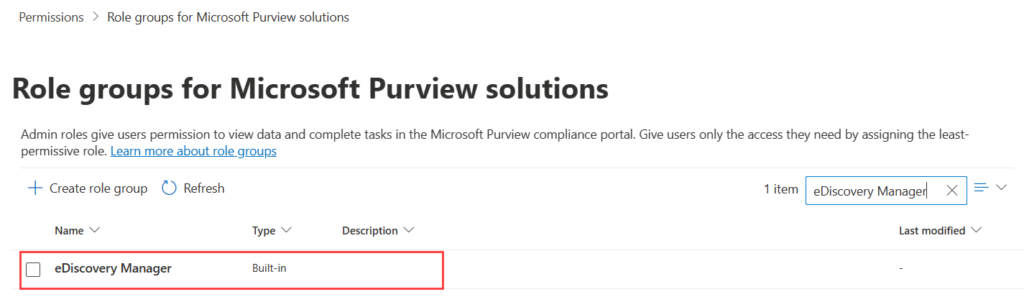
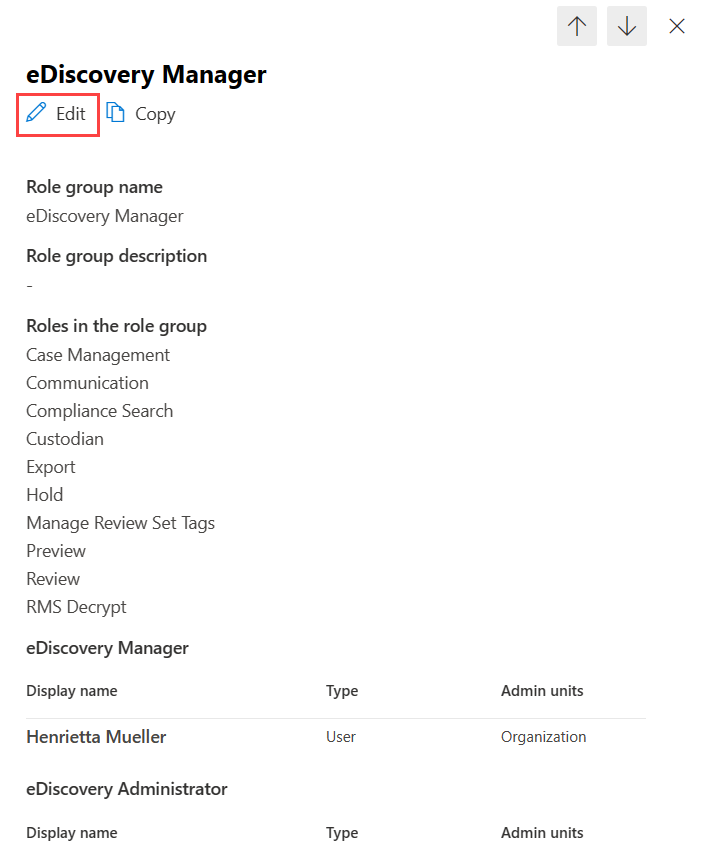
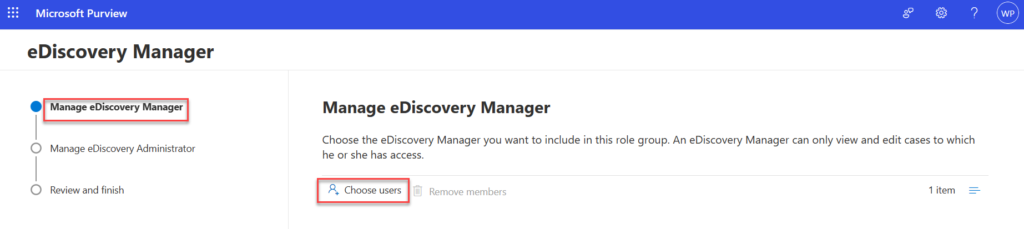
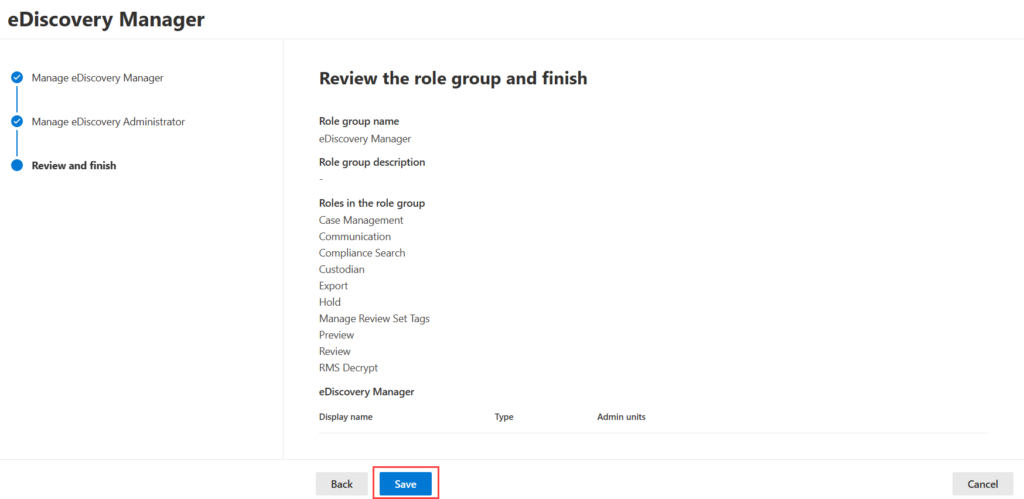
To export a search report, you have to be assigned the Compliance Search management role in compliance portal. This role is assigned by default to the built-in eDiscovery Manager and Organization Management role groups.

Administrator can assign this role using the following steps:

Step 1: Access the Microsoft 365 admin centre.

IMG1

Step 2: Navigate to the “Security & Compliance” Section.

IMG2

Step 3: In Microsoft purview locate to the ” Roles & Scopes ” area and click on the “Permissions”.

IMG3

Step 4: In Permission tab Select the roles associated with Microsoft Purview solutions.

IMG4

Step 5: Next, search for the eDiscovery Manager role in the search box and press “Enter”.

IMG5

Step 6: Open the eDiscovery Manager role.

IMG6

Step 7: Click on “Edit”.

IMG7

Step 8: Add your account to both the “eDiscovery Manager” and “eDiscovery Administrator” roles.

IMG8
IMG9

Step 9: Click “Save” to apply the changes.

IMG10

Downloading Exported Search Results

Downloading exported content from Content Search or eDiscovery requires a separate tool called the eDiscovery Export Tool. While Microsoft Edge is recommended, recent updates might require a different approach.

Here’s what you can do:

Enable ClickOnce support in the newest Microsoft Edge: This might involve some additional steps (Shown Below)

Enabling ClickOnce Support in Microsoft Edge

1. In Microsoft Edge, go to edge://flags/#edge-click-once.

2. For ClickOnce Support Change the setting from “Default” or “Disabled” to “Enabled”.

IMG11

3. Scroll down to the bottom of the browser window and Restart Microsoft Edge.

IMG12

Installing and running the eDiscovery Export Tool

1. After exporting your search results in Purview, select “Download results” on the export flyout page. Copy the “export key” to your clipboard for later use.

IMG13

(Important: Downloading directly from a Chrome browser will result in an error. Switch to Microsoft Edge)

2. You’ll be prompted to launch the eDiscovery Export Tool. Select “Open”.

IMG14

3. If not installed, click “Install” after the security warning.

IMG15

(Microsoft Office 365 eDiscovery Export Tool Install Pop-up)

IMG16

(Installing Microsoft Office 365 eDiscovery Export Tool)

IMG17

(Application Launching Screen)

4. Upon installation, enter the copied “export key” in the eDiscovery Export Tool window. Specify the download path and file name, then click “Start” to begin downloading the exported data.

IMG18

5. Following that, you will be able to see the screen for tracking the download progress. Click on Close to finish the download process.

IMG19

6. Opening the file reveals a folder pane (like the image) displaying details about your content search results.

IMG20

Share this entry

Leave a Reply

Your email address will not be published. Required fields are marked *

Table of Contents

Categories

Categories