SharePoint Premium introduces powerful tools to simplify PDF management directly within SharePoint document libraries or OneDrive. With the “Merge PDFs” action, you can combine multiple PDFs into one file, and the “Extract Pages” action allows you to create new files from selected pages—all without the need for external software or downloads. These features enhance document security, streamline workflows, and make SharePoint a more versatile and efficient platform for managing documents.
Getting Started
To take advantage of advanced SharePoint document management features, you’ll need either a Microsoft Syntex per-user license or access to the Syntex Pay-As-You-Go model. Once activated from the Admin Center, you can explore PDF management with SharePoint, including how to merge PDFs and extract pages directly while previewing a PDF in your document library.
How to Use the PDF Merge and Extract Features
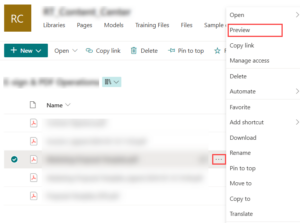
Easily combine PDFs into one by accessing the Merge and Extract options. Right-click a file or select the three dots next to it in your document library. Alternatively, use the top bar menu and choose Preview. From the preview mode, you’ll see options to combine multiple PDFs into one or extract pages as needed.
For automated solutions, you can also generate a PDF from the Microsoft Automate Method, leveraging SharePoint Premium Services to streamline your workflow.

Now, Let’s explore both PDF Merge and PDF Extract features in detail and how they will work.
Merging PDFs
The PDF merge feature allows you to combine multiple files into one document.
Here are the Detailed steps to perform the PDF Merge Operation:
1. Open a PDF in Preview Mode by selecting the three dots next to the file name and choosing “Merge PDFs.”

2. The original PDF will be pre-selected. Add other PDFs from your libraries or sites to include in the merger. Rearrange the order of the PDFs if needed to ensure the correct sequence.

3. Click Next, provide a name for the merged file, and select your preferred save location.
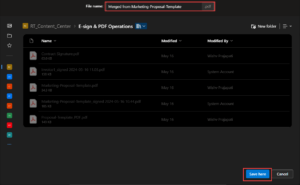
4. Example: A document with three pages can become part of a larger PDF after merging.
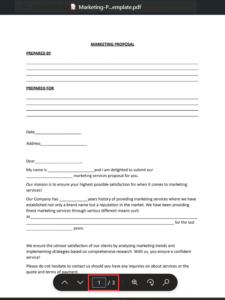
(Before Merge: “Document – Pages 1 to 3”)
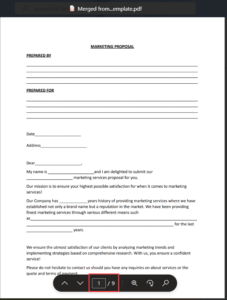
(After Merge: “Combined Document – Pages 1 to 9”)
Extracting Pages from PDFs
The “Extract Pages” feature allows you to save specific pages from a PDF as a separate document.
Here are the steps to perform the PDF Merge Operation:
1. pen a PDF in Preview Mode and select the “Extract Pages” option from the navigation menu.

2. After that, choose the pages you want to extract from the displayed list of all pages in the PDF.

3. Click Next, enter a name for the new file, and choose the location where you want to save it. The selected pages will be saved as a separate document in the specified location.
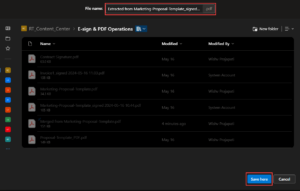
4. Example: A four-page document can be split into a new two-page file after extraction.
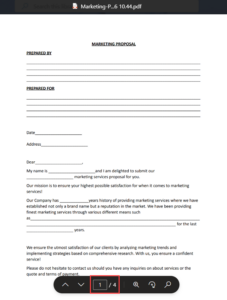
(Before Extraction: “Original Document – Pages 1 to 4”)
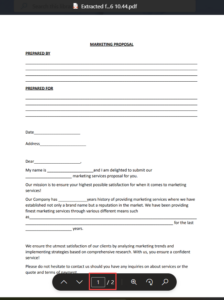
(After Extraction: “Extracted Pages – Pages 1 and 4)
Conclusion
The new PDF merge and extraction tools in SharePoint Premium offer a simple, secure, and efficient way for SharePoint document management. These features save time, eliminate the need for third-party software, and enhance the user experience. Start using them today to maximize your productivity and streamline your workflows!
Want to talk?
Drop us a line. We are here to answer your questions 24*7.


