


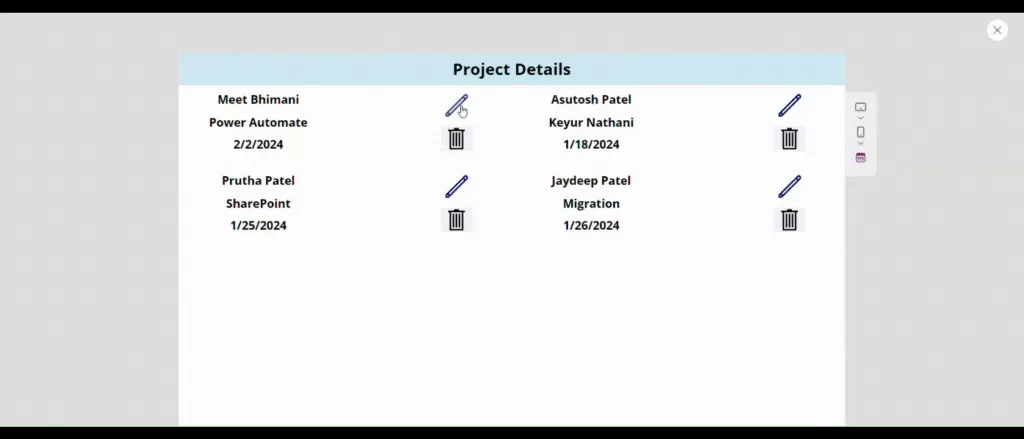
Step 1: Add a new screen in PowerApps and include a vertical gallery connected to your data source. In the screenshot below, display the data with three columns: ‘Project Name,’ ‘Assigned to,’ and ‘Submitting Date.’ Add the edit and delete icon in the gallery1
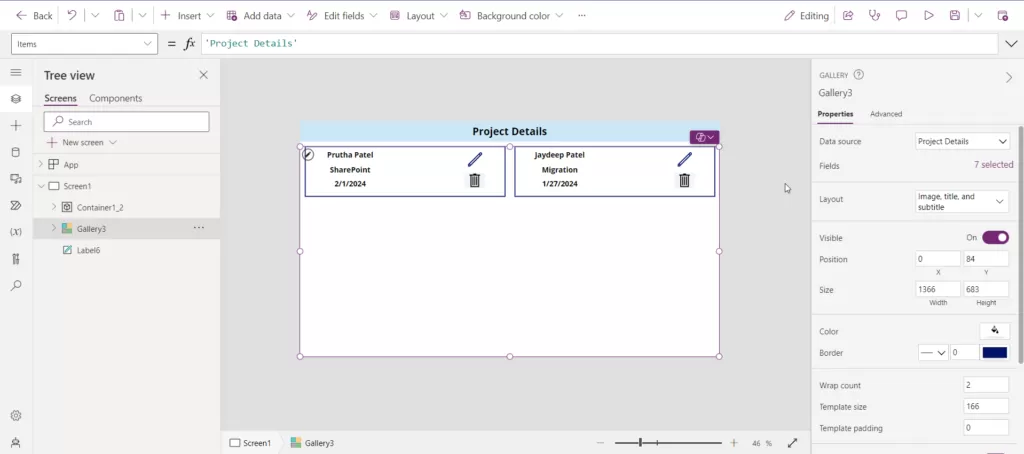
Step 2: Add the Delete and Edit Icon.
Add the formula below to the OnSelect property of the Delete icon
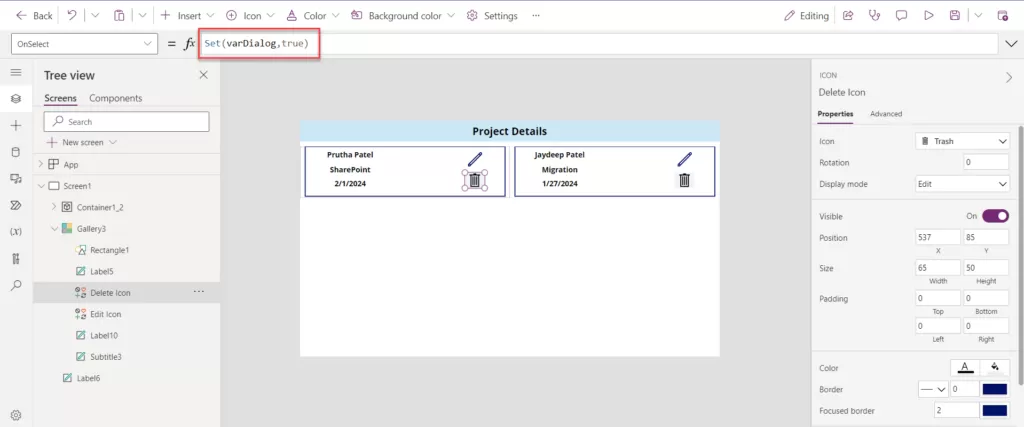
Set(varDialog,true)

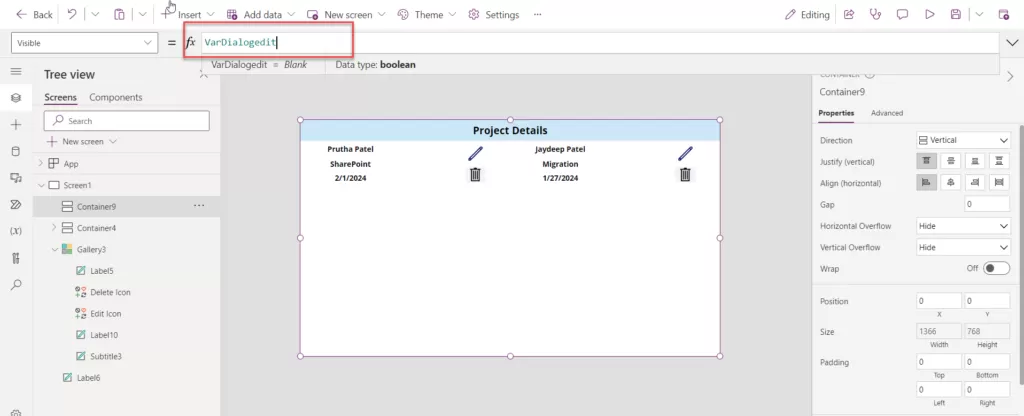
Step 3: Click on Screen1 and insert the Vertical container. Add the variable to the Visible property of the Vertical container. Set the Vertical container’s height and width according to the parent size.
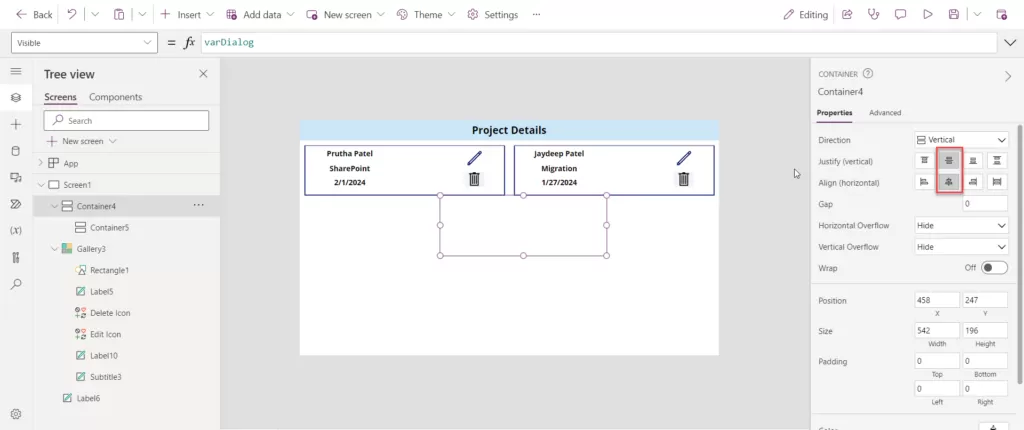
Step 4: Click on Container4 and add a new vertical container. Adjust the height and width according to the screen, then on the right side Justify (vertically) and align (horizontally) it in the centre.
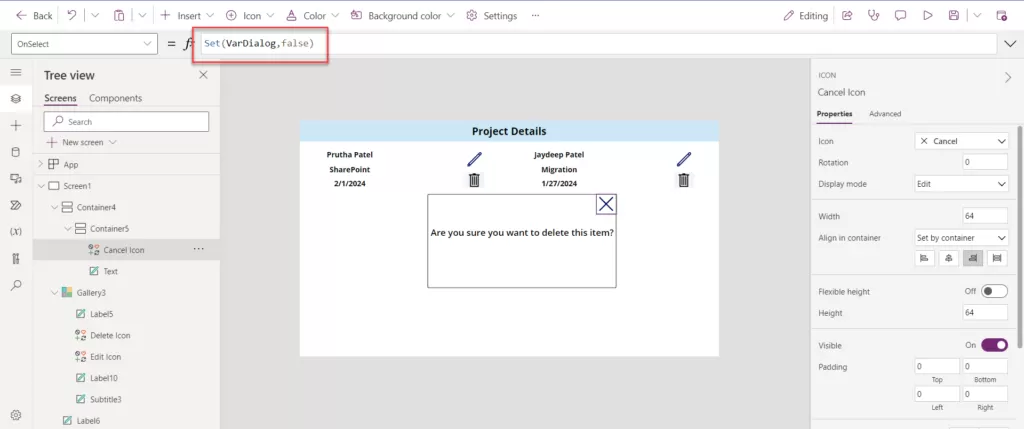
Step 5: Click on Container 5 and add the Cancel icon and Text label. Click on the Cancel button, select the OnSelect property, and enter the formula below. Then, add the text to the Text label.
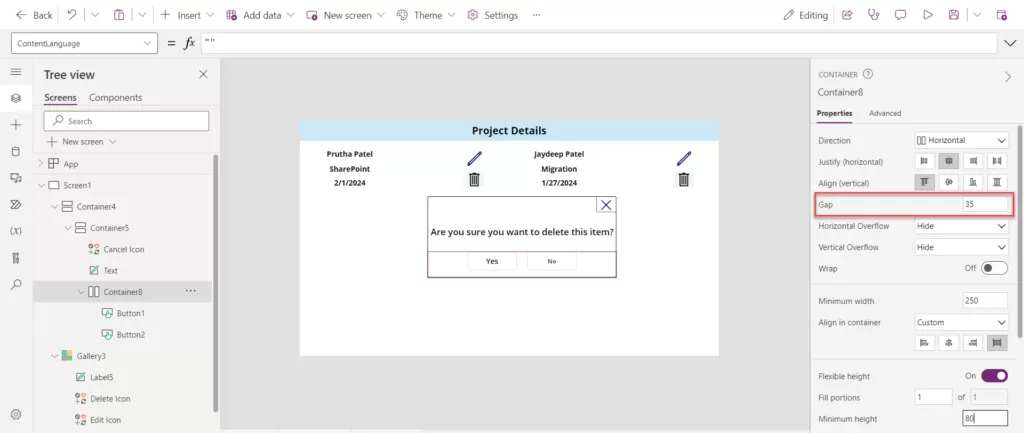
Step 6: Next, click on Container5 and add a horizontal container. Add the 2 buttons in the horizontal container, set their positions to center horizontally, and add a gap between the two buttons.
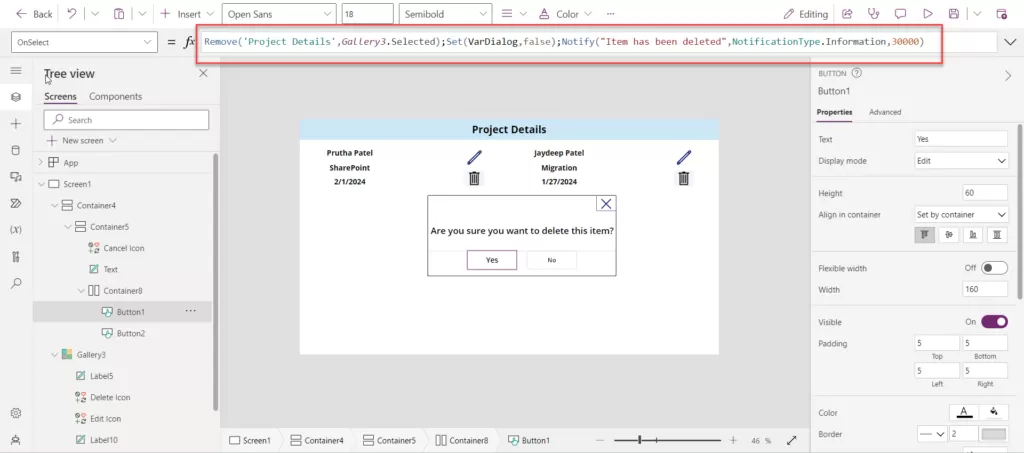
Step 7: Add the following formula to the OnSelect property of the button “Yes” and “No” buttons respectively.
On the Yes button add the below formula:
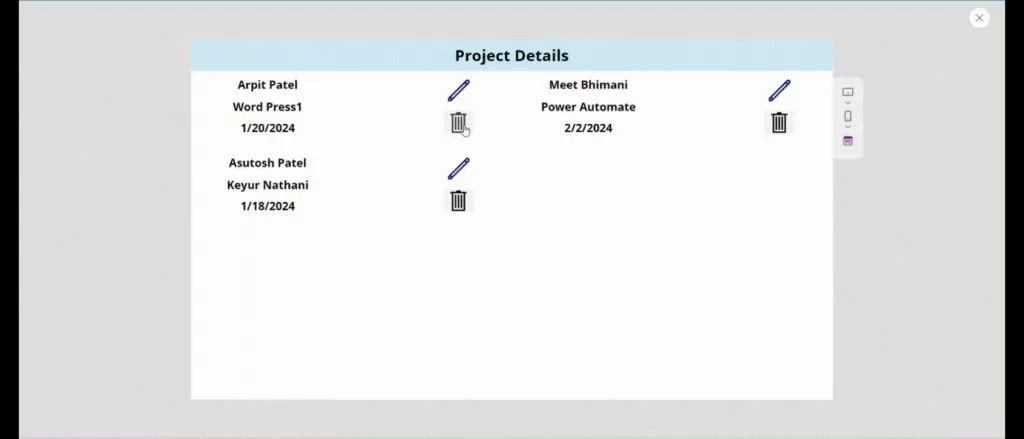
Remove('Project Details',Gallery3.Selected);Set(VarDialog,false);Notify("Item has been deleted",NotificationType.Information,30000)Set(VarDialog,false)Step 8: Click on the delete button to display the popup. If you wish to delete the item, click the ‘Yes’ button, and a notification will appear saying ‘Item has been deleted.
Step 8: Click on the delete button to display the popup. If you wish to delete the item, click the ‘Yes’ button, and a notification will appear saying ‘Item has been deleted.

EditForm(Form1);Set(VarDialogedit,true)

VarDialogedit
Set(VarDialogedit,false)
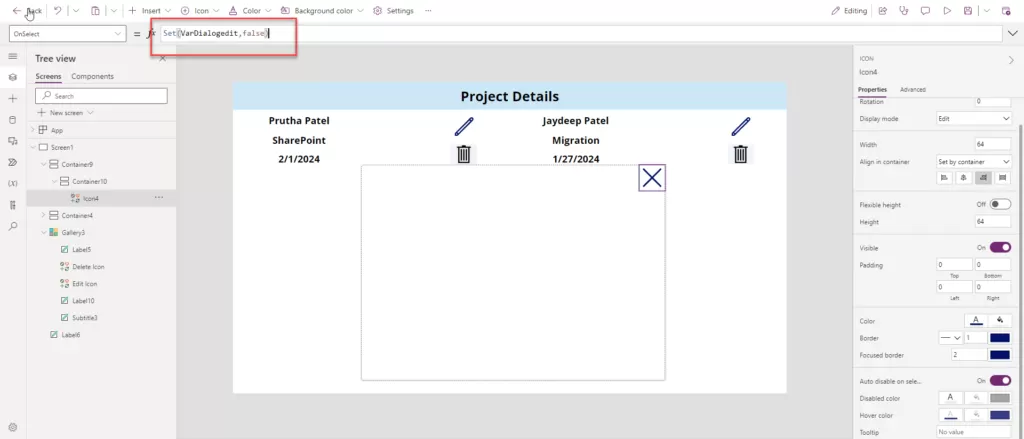
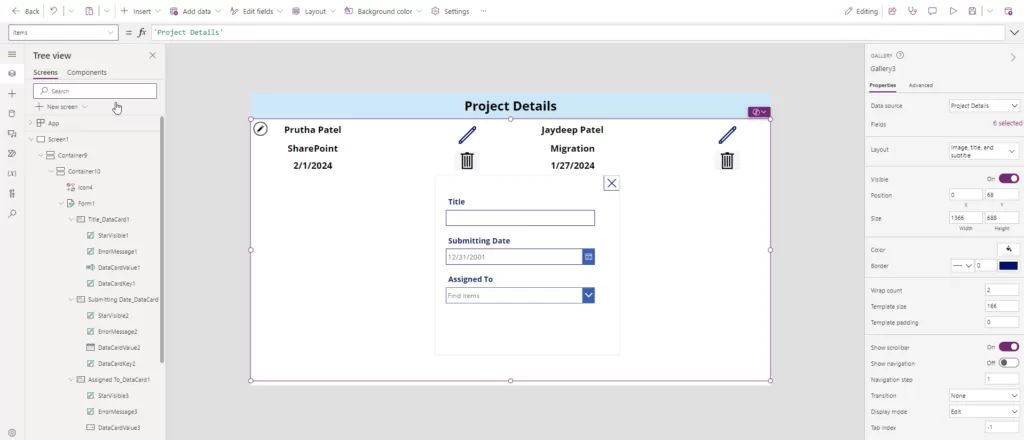
Step 12: Click on Container 10 and add the Edit form, connecting the data with the data list.
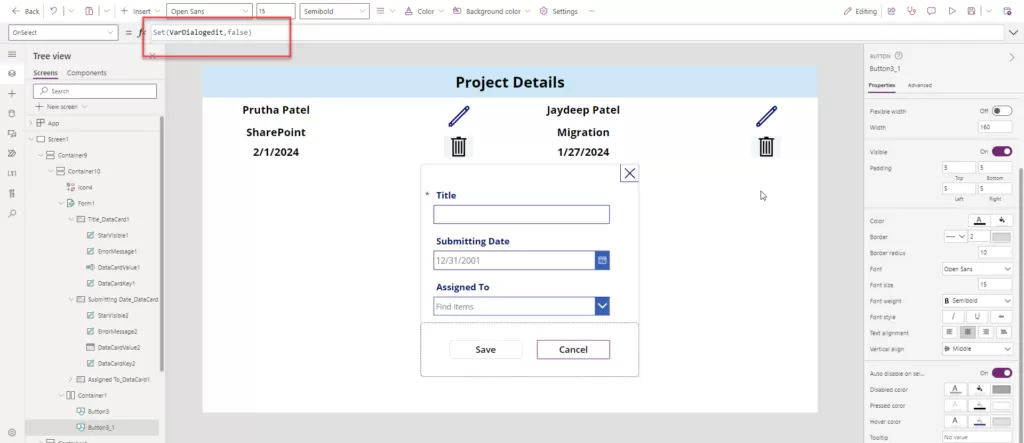
Step 13: Click on Container10 and add a horizontal container. Include two new buttons and adjust their sizes according to the form size. Write the formula below for the Cancel button.
Set(VarDialogedit,false)
SubmitForm(Form1)
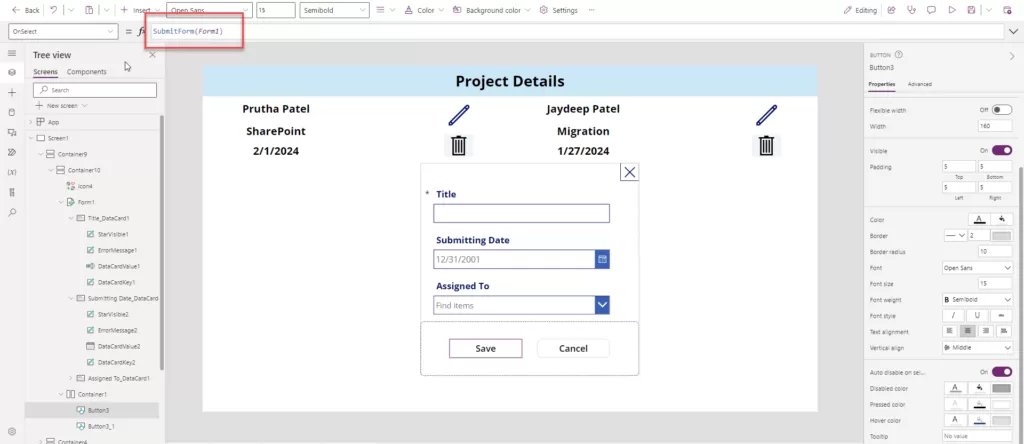
Set(VarDialogedit,false);Notify("Item has been updatedStep 16: Click on the edit button to modify details according to requirements. After making the necessary changes, click on the save button to update the column values.
Want to talk?
Drop us a line. We are here to answer your questions 24*7.