This guide helps you understand how to view and read forms in Power Pages. Simply follow these steps: access Power Pages Management, create a new form, sync your site, and add the form to your page.
By doing this, you can easily integrate forms into your website, making it easier to manage data and improve user experiences.
Steps to View/Read a Form in Power Pages
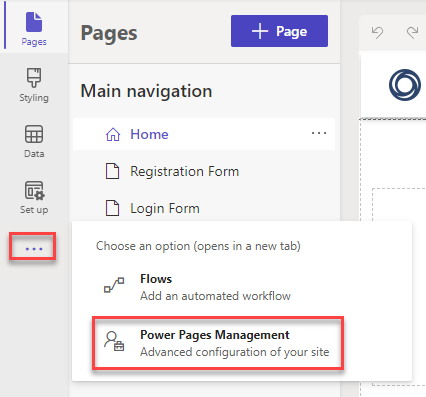
Step 1: Go to the Power Pages Management
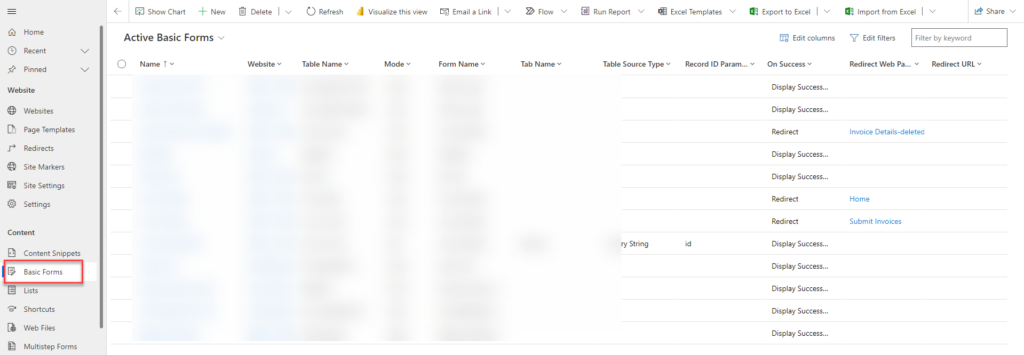
Step 2: Go to Basic Forms and click on the “+ New” button.
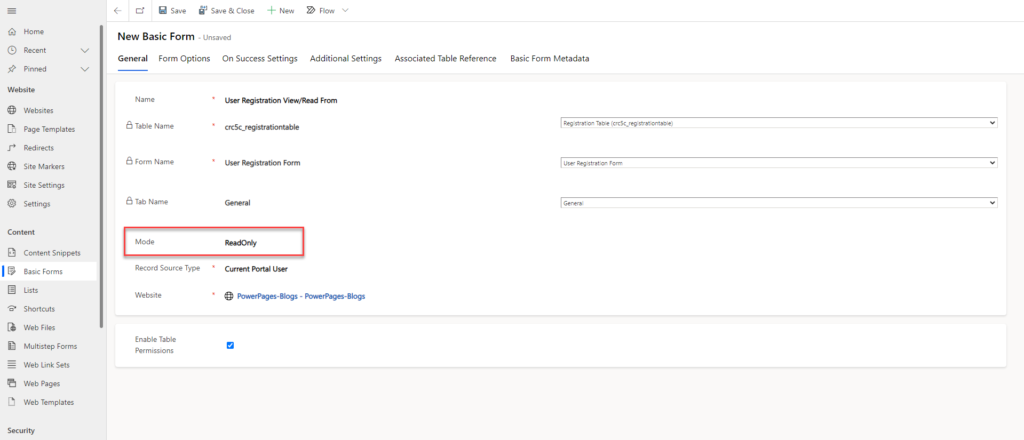
Step 3: Give a name to the form, then select a table. Next, choose the form name and tab name. In the mode selection, choose “ReadOnly” then select the record source type and website, and finally click on Save.
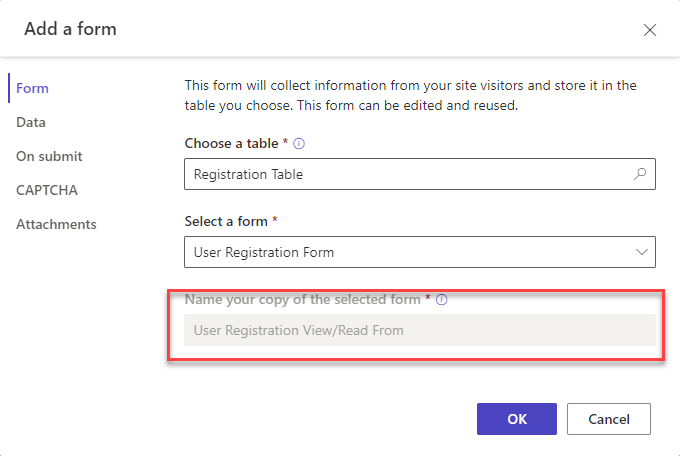
Step 4: Go to the Power Pages site and “Sync” the site. On the page, in the component section, click on the form and select the ReadOnaly form that was created.
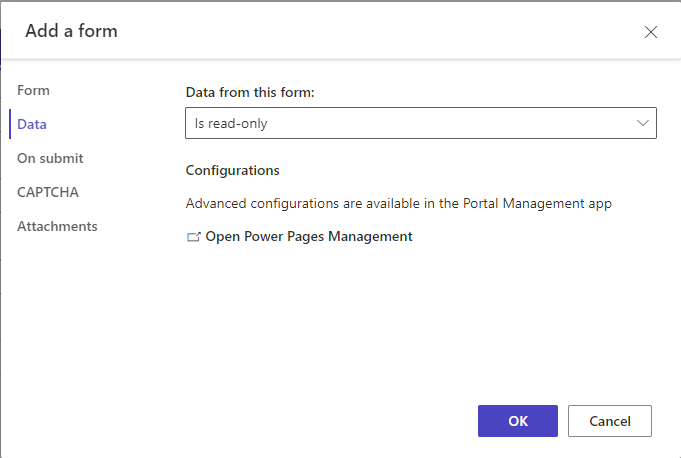
In the data section, you can see that your form is set to is read-only. Now, you can click on “OK” and add the form to the page.
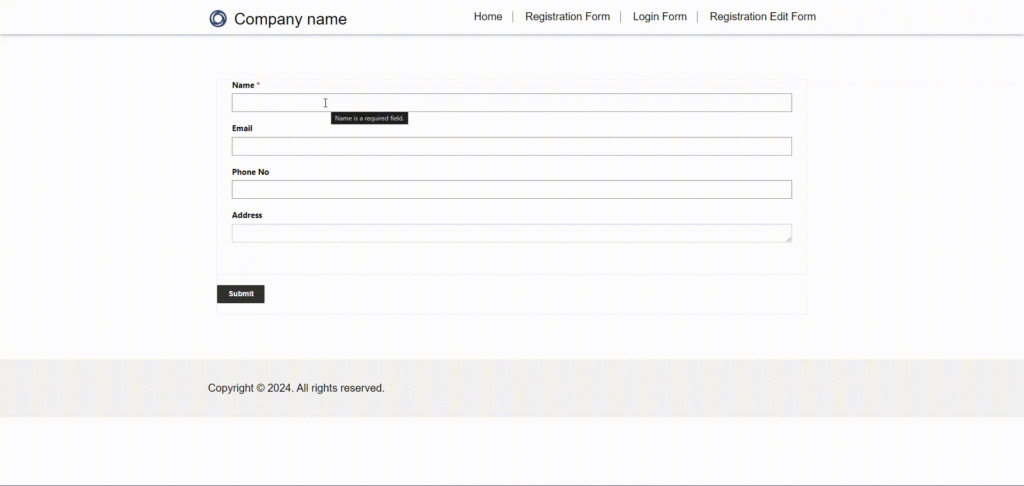
Step 5: To use the read form, you need to first add some user information to the database, and then you can read those details.
Conclusion: This guide provides a clear pathway to effectively viewing and reading forms within Power Pages. Following the outlined steps allows for seamless integration of forms into your website, thereby simplifying data management and enhancing user experiences.
By leveraging Power Pages, you can optimize your website’s functionality and ensure a smoother interaction for users.
Want to talk?
Drop us a line. We are here to answer your questions 24*7.


