
Retention labels in SharePoint are a powerful tool to streamline document management, ensure regulatory compliance, and optimize storage by automating the retention or deletion of content based on predefined settings.
- Automate document lifecycles: Set retention rules to automatically keep important files for the right amount of time, ensuring compliance and protecting sensitive information.
- Declutter your library: Automatically delete outdated documents, freeing up valuable storage space for what matters most.
- Save time and effort: Effortlessly manage documents with pre-defined retention settings that take care of the details for you.
This guide equips you with the practical know-how of using retention labels in SharePoint. We’ll show you how to apply labels to individual files and entire libraries, so you can take control and streamline your document management process.
Apply Retention Labels to Your SharePoint Items
- Select the document/folder for which you want to apply the retention label.

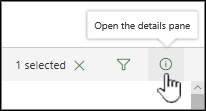
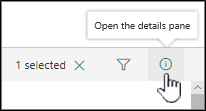
- In the upper-right corner, select Open the details pane.
- Under Apply label, select Choose a label to open the list of options.
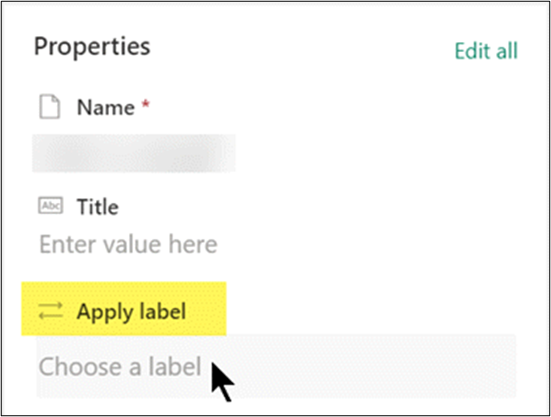
- In the Properties section, under Apply Label, click to open the list of options.
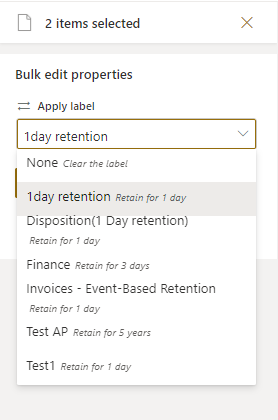
- Select the appropriate retention label for your document. (To learn about the differences between the labels, you can point at each one to see a description of it and its retention period.)
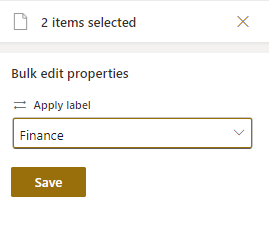
- Click “Save” to apply the label.
Set a Default Retention Label for SharePoint Document Library
- Open the document library where you want to apply the default Retention label.

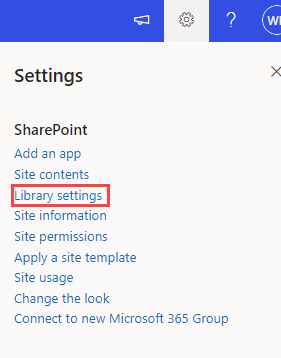
- Click the Settings icon (gear icon) in the top right corner and then select “Library settings”
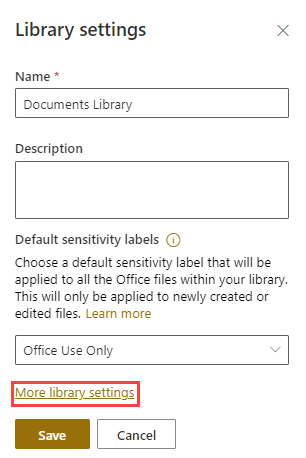
- Then click on “more library settings.”
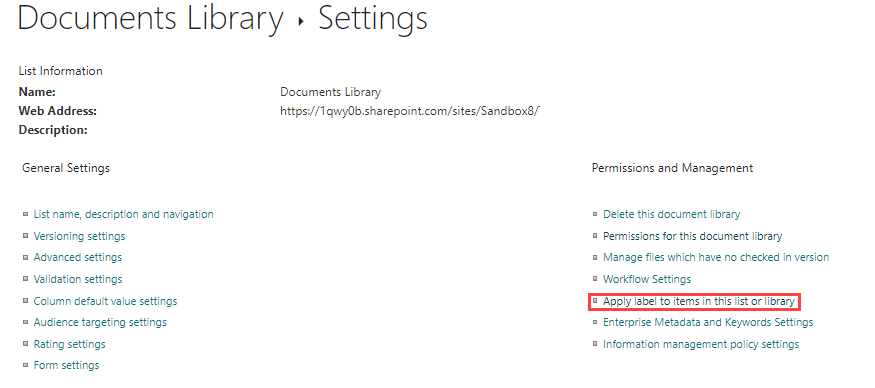
- On the Settings page, under Permissions and Management, select “Apply label to items in this list or library.”
- On the Apply Label page, select the drop-down box, then select the label that you want to apply.

- The label you select will be automatically applied to all new files added to the document library beginning now. (Optional: To automatically apply the label to all files currently in the document library, select Apply label to existing items in the library.)

- Click “Save” to confirm the changes.
Label Restrictions: What You Can’t Do with Labelled Items
When an item has a retention label, some actions might be restricted depending on the settings configured by your administrator. These restrictions help ensure proper information governance and compliance.
The most common restrictions with labelled items involve:
Deleting the item: Retention labels often prevent accidental deletion of important information.
Modifying the content (unless unlocked): Items designated as records might be locked to prevent unauthorized edits. You might be able to unlock the item for editing, as explained in the next section.
When an item has a retention label, some actions aren’t allowed—depending on the settings your admin has chosen.
If you see a message in SharePoint that you can’t edit a labelled item, it’s because it has been labelled a record. You might be able to edit this item if you first unlock it. See the next section for instructions.
Locking and Unlocking Records: Explained
Retention labels can “lock” an item because it’s designated as a record that must be preserved. This prevents accidental deletion, which is crucial for important documents like contracts. However, authorized users might be able to unlock these items for revisions or updates.
Why Records Get Locked:
- Retention labels can be configured to mark specific documents as “records.”
- When an item is designated as a record, it’s essentially locked to prevent accidental deletion or modification.
- This safeguards crucial information and ensures regulatory compliance.
Here’s how to lock or unlock a record:
- In the document library, select the item you want to lock or unlock.

- Near the upper right of the window, select Open the details pane
- In the Details pane, under Record status, select Locked.
- A toggle control appears next to the name of the setting. Click the toggle to switch from Locked to Unlocked, or vice versa.

- Select the toggle control to switch from Locked to Unlocked, or vice versa.
Once the item is unlocked, then you can edit it. When you’re done editing, you can also lock the item again by following the steps above and toggling the Record status back to Locked.
Want to talk?
Drop us a line. We are here to answer your questions 24*7.


