
How might content translation be useful for your organization? If you work across regions, being able to quickly translate content enables better multilingual collaboration and communication. If your business has a global reach, localizing business content for your customers optimizes user experiences. Finally, if you are in a regulated industry or need to comply with local or national laws, automated translation at high scale helps ensure documentation is available in required languages.
With business transactions and collaboration increasingly global, SharePoint Premium now enables documents to be translated directly from a document library into another language. The original file is duplicated, and all formatting and structure are preserved during the translation. This feature will be incredibly useful for organisations that receive content in multiple languages. Eliminating the need for external translation services or copying/pasting content into an online translator.
This is currently only available in your organisation if SharePoint Premium (Syntax) pay as you go is configured in your tenant & linked to an Azure subscription. In the M365 Syntex admin centre ensure your Azure subscription is setup.
Enabling Document Translation in your Tenant
Before we begin, ensure you have a Syntex Pay As You Go subscription set up and linked to an Azure subscription. You can manage this in the M365 Admin Center through the Syntex Admin Center
Here’s how to enable Document Translation:
Access the M365 Syntex Admin Center: Navigate to the M365 Admin Center and locate the Syntex Admin Center. (The specific location may vary depending on your interface).
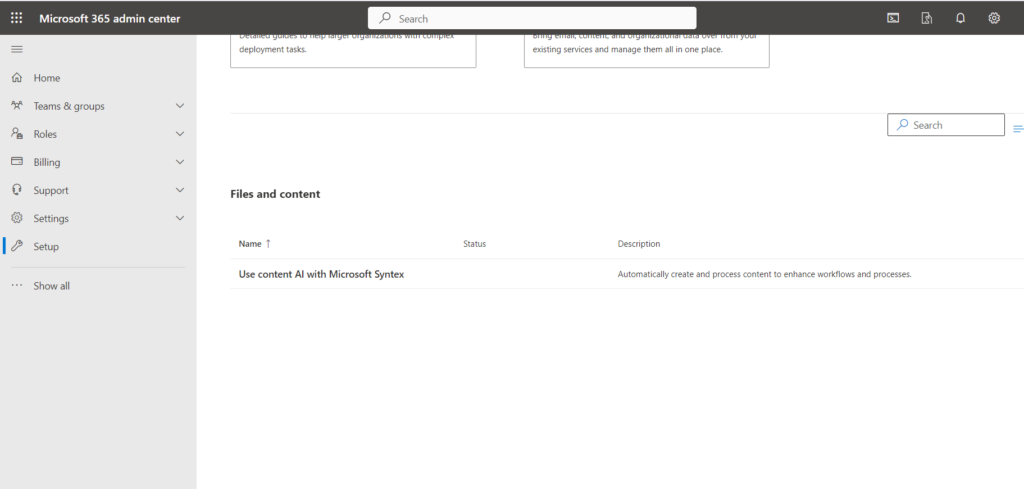
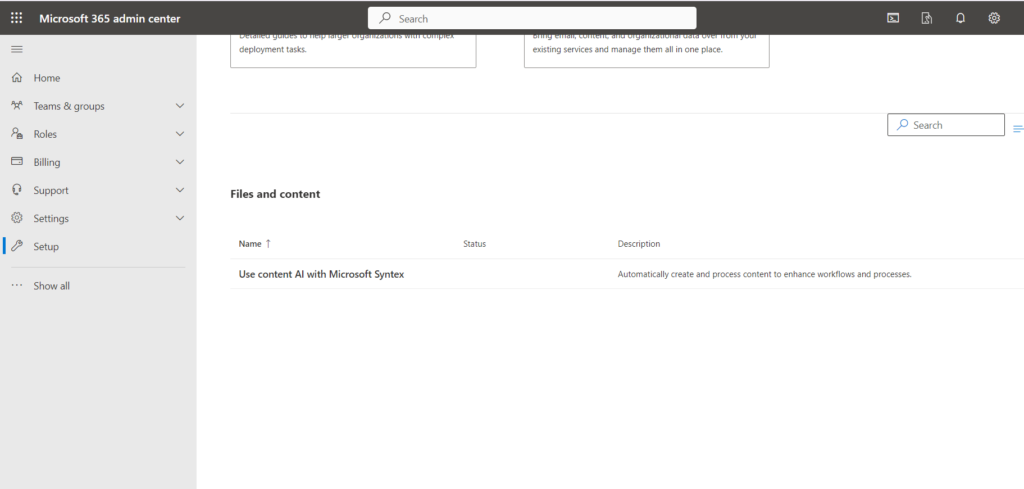
Verify Azure Subscription: Within the Syntex Admin Center, make sure your Azure subscription is properly set up. Select the “Manage Microsoft Syntex” and then after select the “Use content AI with Microsoft Syntex.”
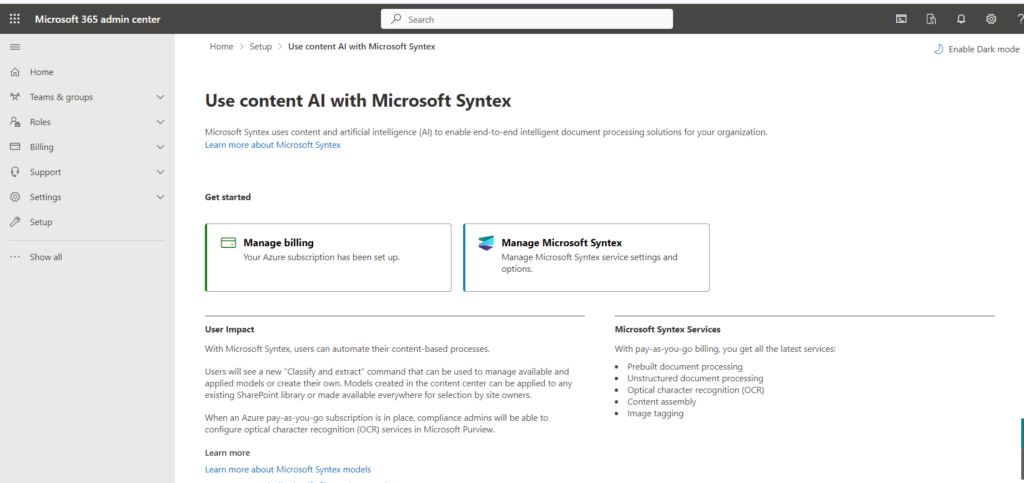
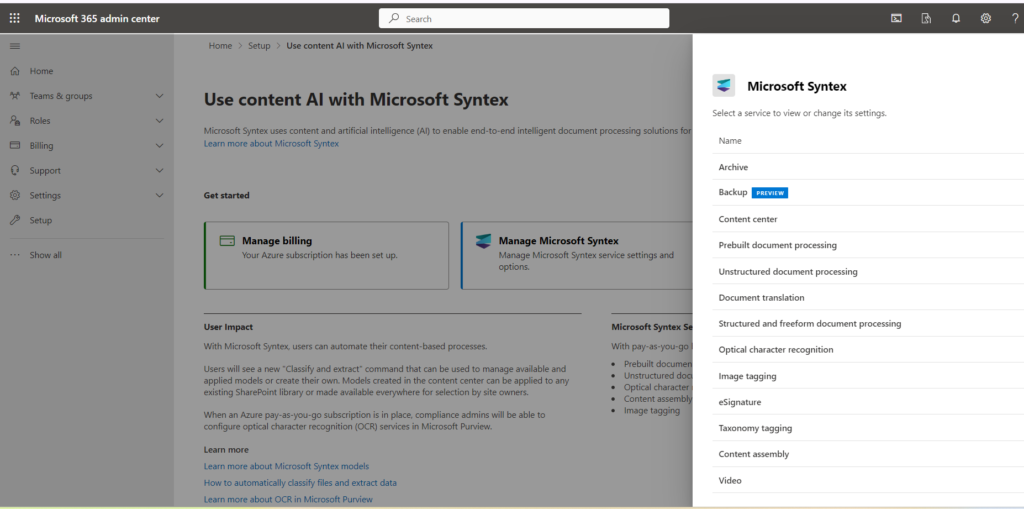
Enable Document Translation: Select “Document Translation” service and turn on the status. Choose Specific SharePoint site to where you want to enable the “Document Translation” service.
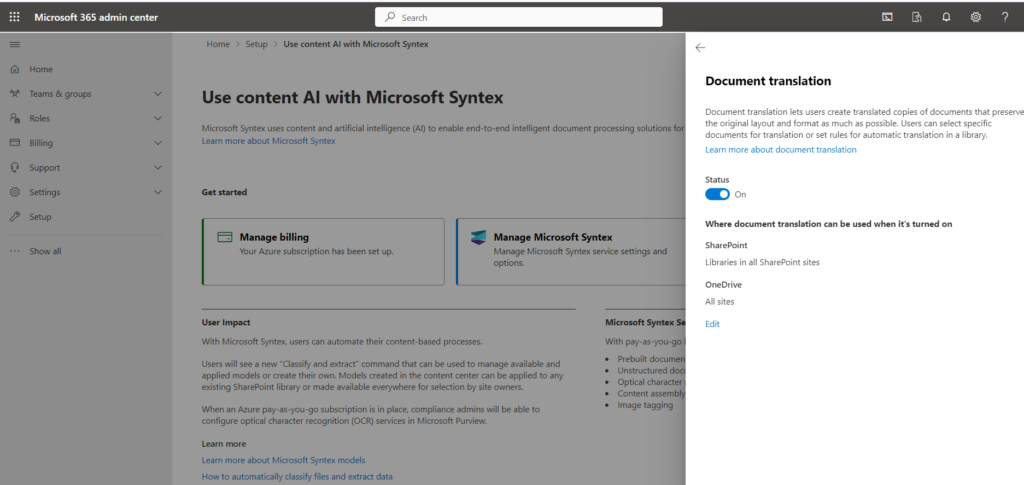
SharePoint Premium Document Translation – On-Demand Translation
Go to a SharePoint Document library in one of the sites enabled for Document Translation. As mentioned previously there is no additional configuration required in the library to enable it for Document Translation other than the site being enabled for Document Translation
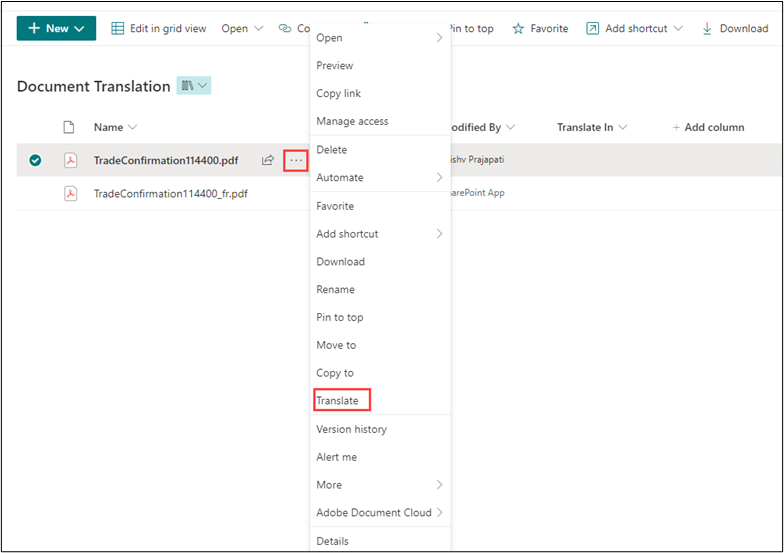
Now select the document or documents (multiple) in the document library. Then select from either the document library menu or the file menu (see two options below)


Select the “Translate” option.
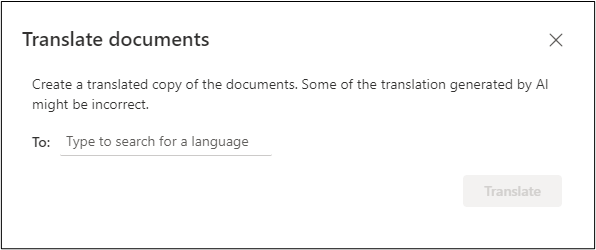
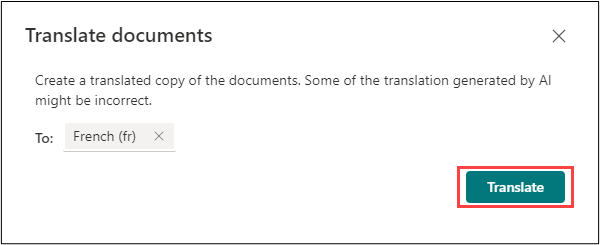
A Translate documents pop out then occurs, asking you to enter a language to translate the document into. Click on the text box to enter a language.
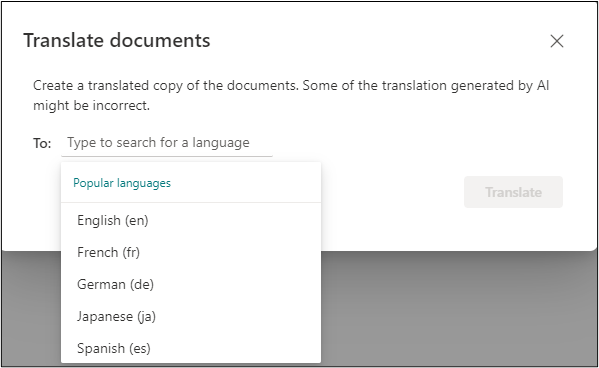
Five popular languages will appear (English, French, German, Japanese and Spanish) in a drop down.
Document Translation supported 133 languages, which is the same as the Azure Translation Service. You can type in the language short code i.e. fr to translate documents into French. My document is in English, so I want to translate it to French (fr).
Once selected or typed in the language will be displayed in the text box – then press the Translate button.
A confirmation appears to show the document has then been submitted successfully for translation.

After some time, copied and translated documents were added into the library. It has the same title as the original document, but the country code of the language used to translate i.e. fr for French has been appended to the filename I.e. TradeConfirmation114400_fr.docx
SharePoint Premium Document Translation – Document Library Rules
Documents when added to a document library can also be auto translated either when column in a document library change using SharePoint Document Library rules.
Here we will show how the Document Library rules can be configured. Browse to the Document Library then click on the Automate menu on the Document Library top bar then click on Rules, then Create a rule.

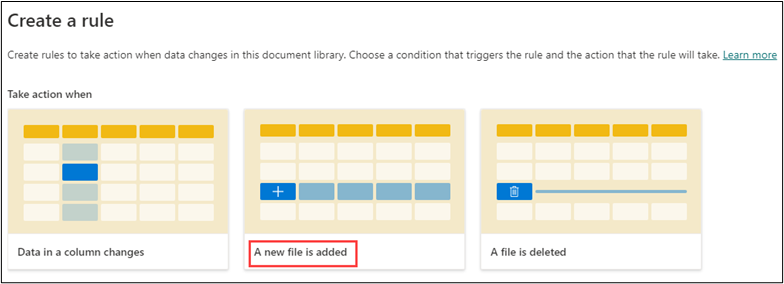
Configure a rule to trigger when “A new file is added.”. Within this rule, select the action “Create a translated copy in.”. Specify the language you want the file translated into. Click “Create Rule” to activate the automation.
There are two rule options that will work with translating documents “When a new file is added” & “Data in a column changes”. We are going to focus on when “A new file is added”.
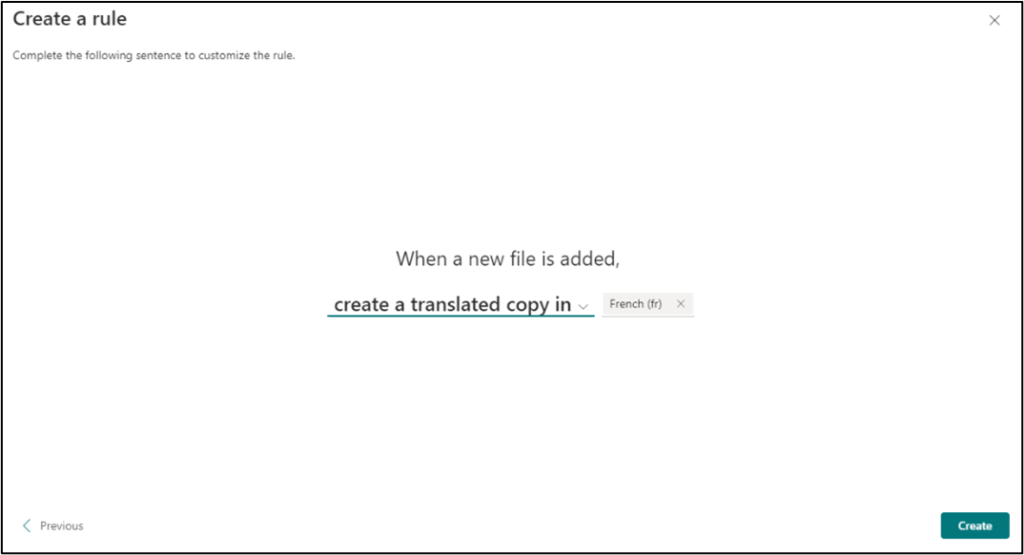
The Manage rules page is then displayed confirming the created rule.

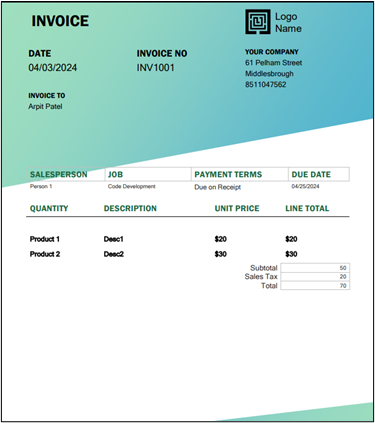
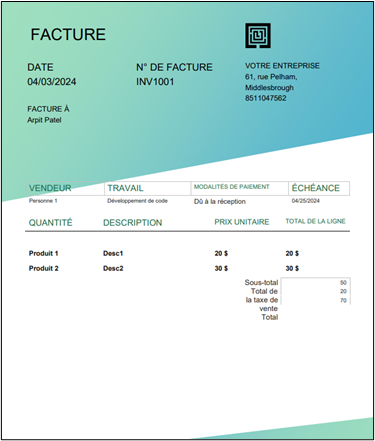
I will now upload the document “Invoices1” into the library. Shortly after the translation rule is automatically triggered and the document is auto translated into French “Invoices1_fr.”

Here’s the original English document and its French translation.
Summary
Document Translation is an excellent addition to the SharePoint Premium suite, particularly for multi-geo companies and those that produce or receive documents in foreign languages.
This feature allows users with the permission to create documents in a library to translate documents directly from a SharePoint document library. Eliminating the need for copying and pasting content into online translation sites, sending content to external organisations, or relying on custom development.
Want to talk?
Drop us a line. We are here to answer your questions 24*7.


